[준비물]
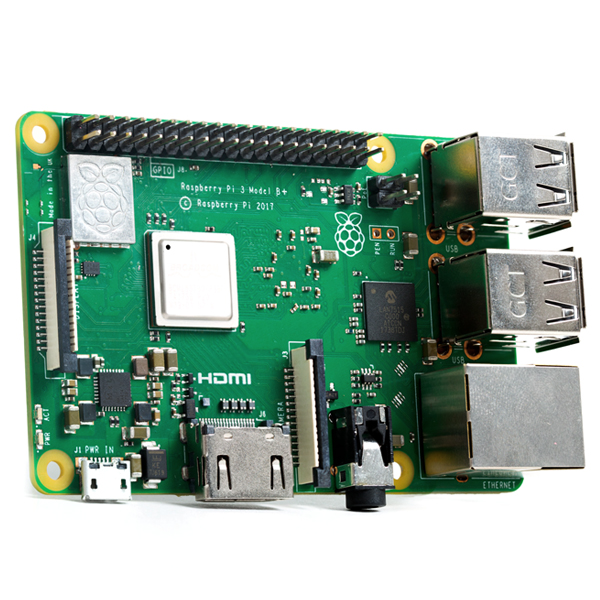
(1) 라즈베리파이 3 Model B+
(요즘 나오는 최신거 쓰면 된다)
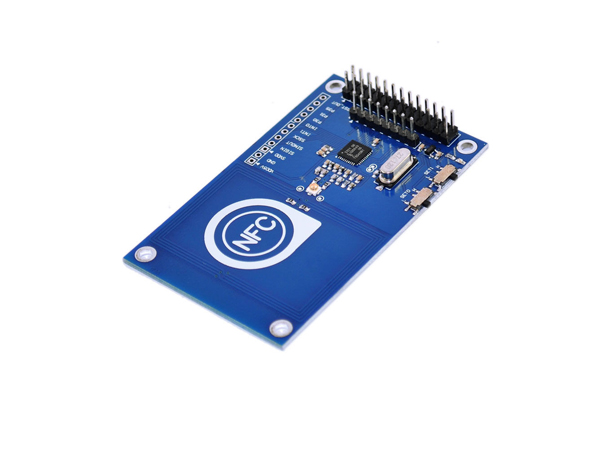
(2) NFC Reader(13.56MHz PN532 NFC 모듈)
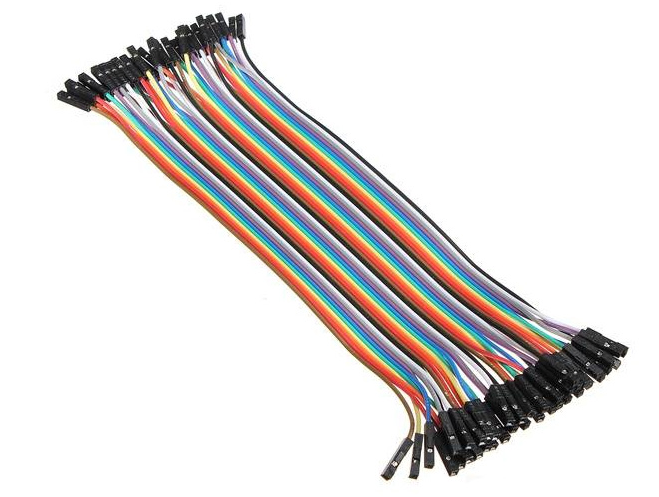
(3) 점퍼 케이블
[설치]
라즈베리파이 OS가 아래와 같이 설치되어 있다는 가정하에 진행한다.
라즈베리파이 버전
Linux raspberrypi 4.19.57-v7+ #1244 SMP Thu Jul 4 18:45:25 BST 2019 armv7l GNU/Linux
라즈베리파이와 NFC 모듈을 점퍼 케이블로 연결해야한다.
| PN532 | Raspberry |
| 5V | 5V |
| GND | GND |
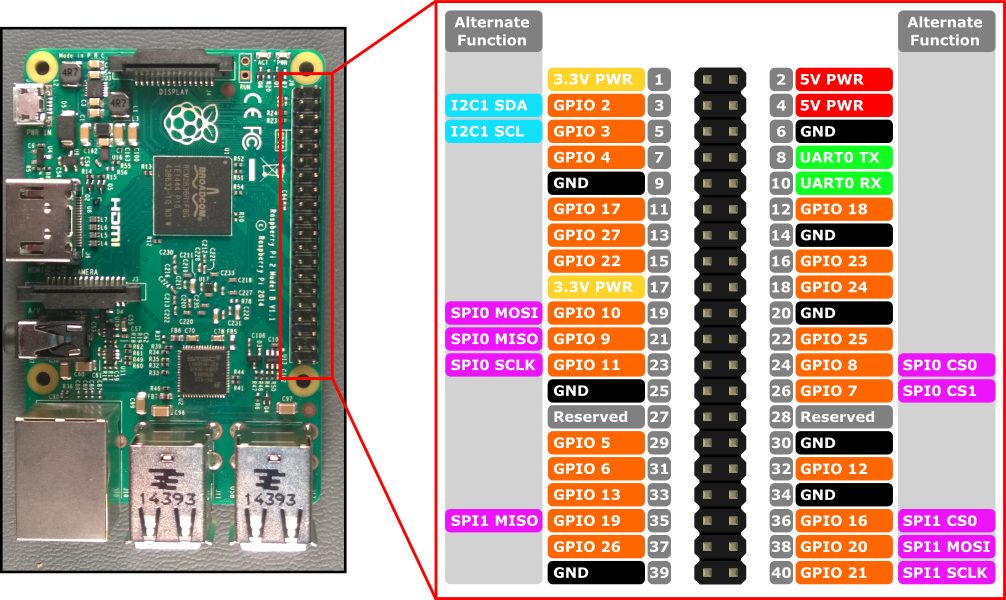
| SDA | SDA0 |
| SCL | SCL0 |
아래 사진은 NFC module 뒷면이고, 빨간색으로 표시한 부분의 pin 4개를 사용한다.
- MD/SDA/TX → SDA 사용
- NSS/SCL/RX → SCL 사용
- GND
- 5V
Mode는 IIC를 사용한다(I2C라고도 함)
보라색으로 표시한 부분을 확인한다. SET0 - H, SET1 - L
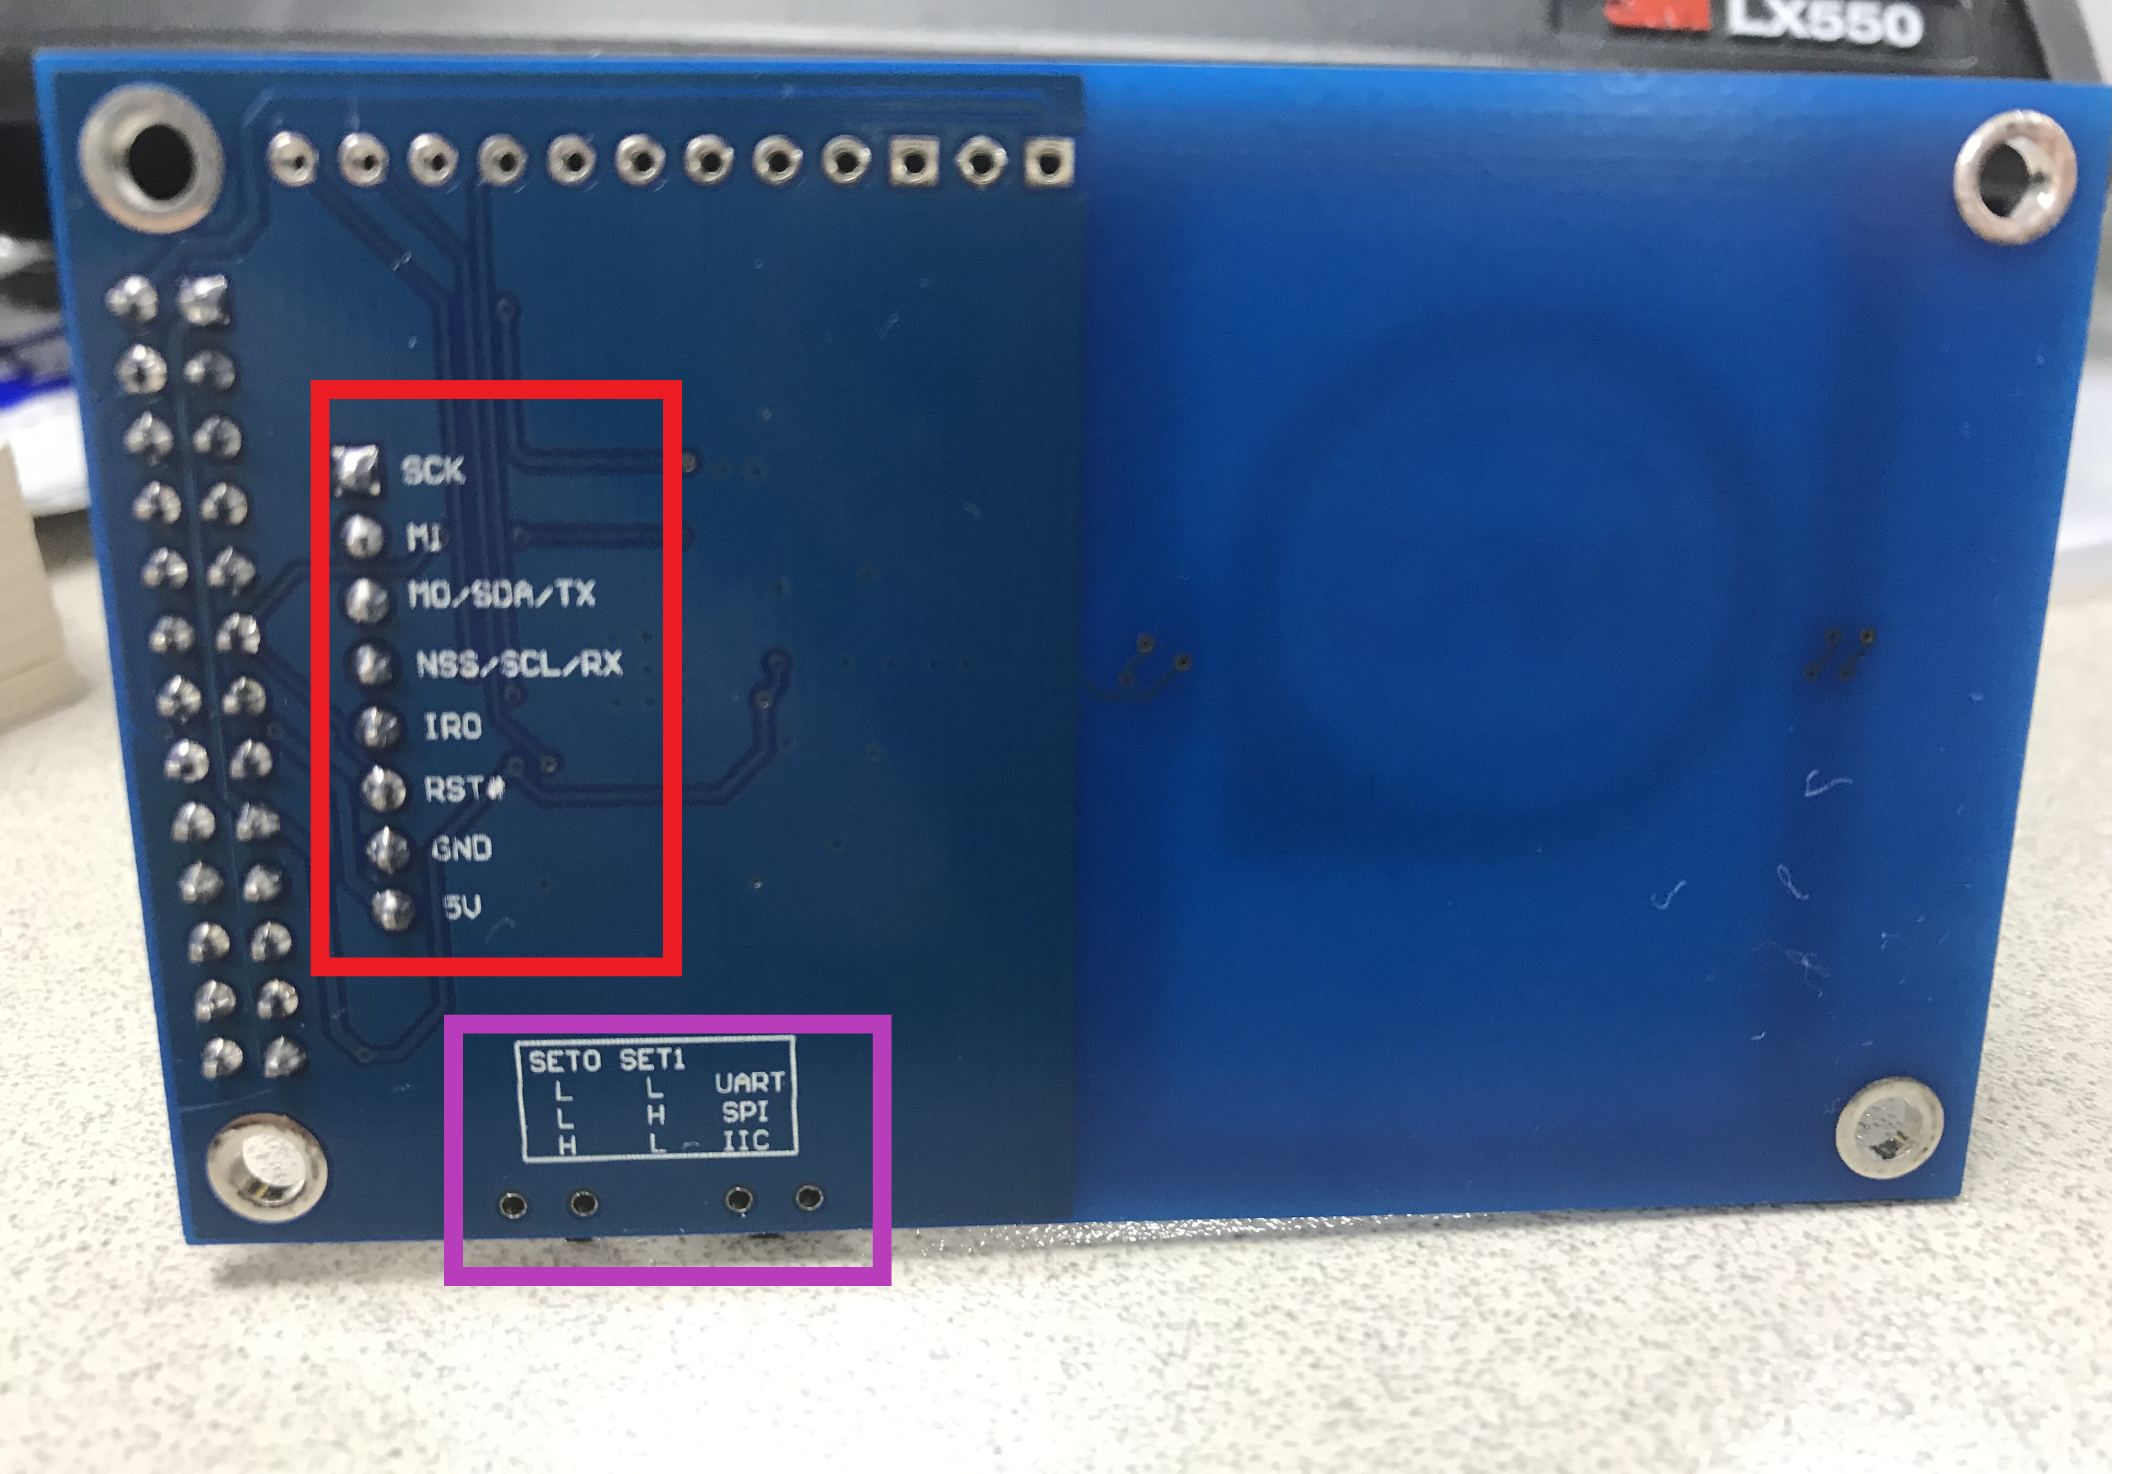
아래와 같이 4개의 핀과 Mode를 설정했다.
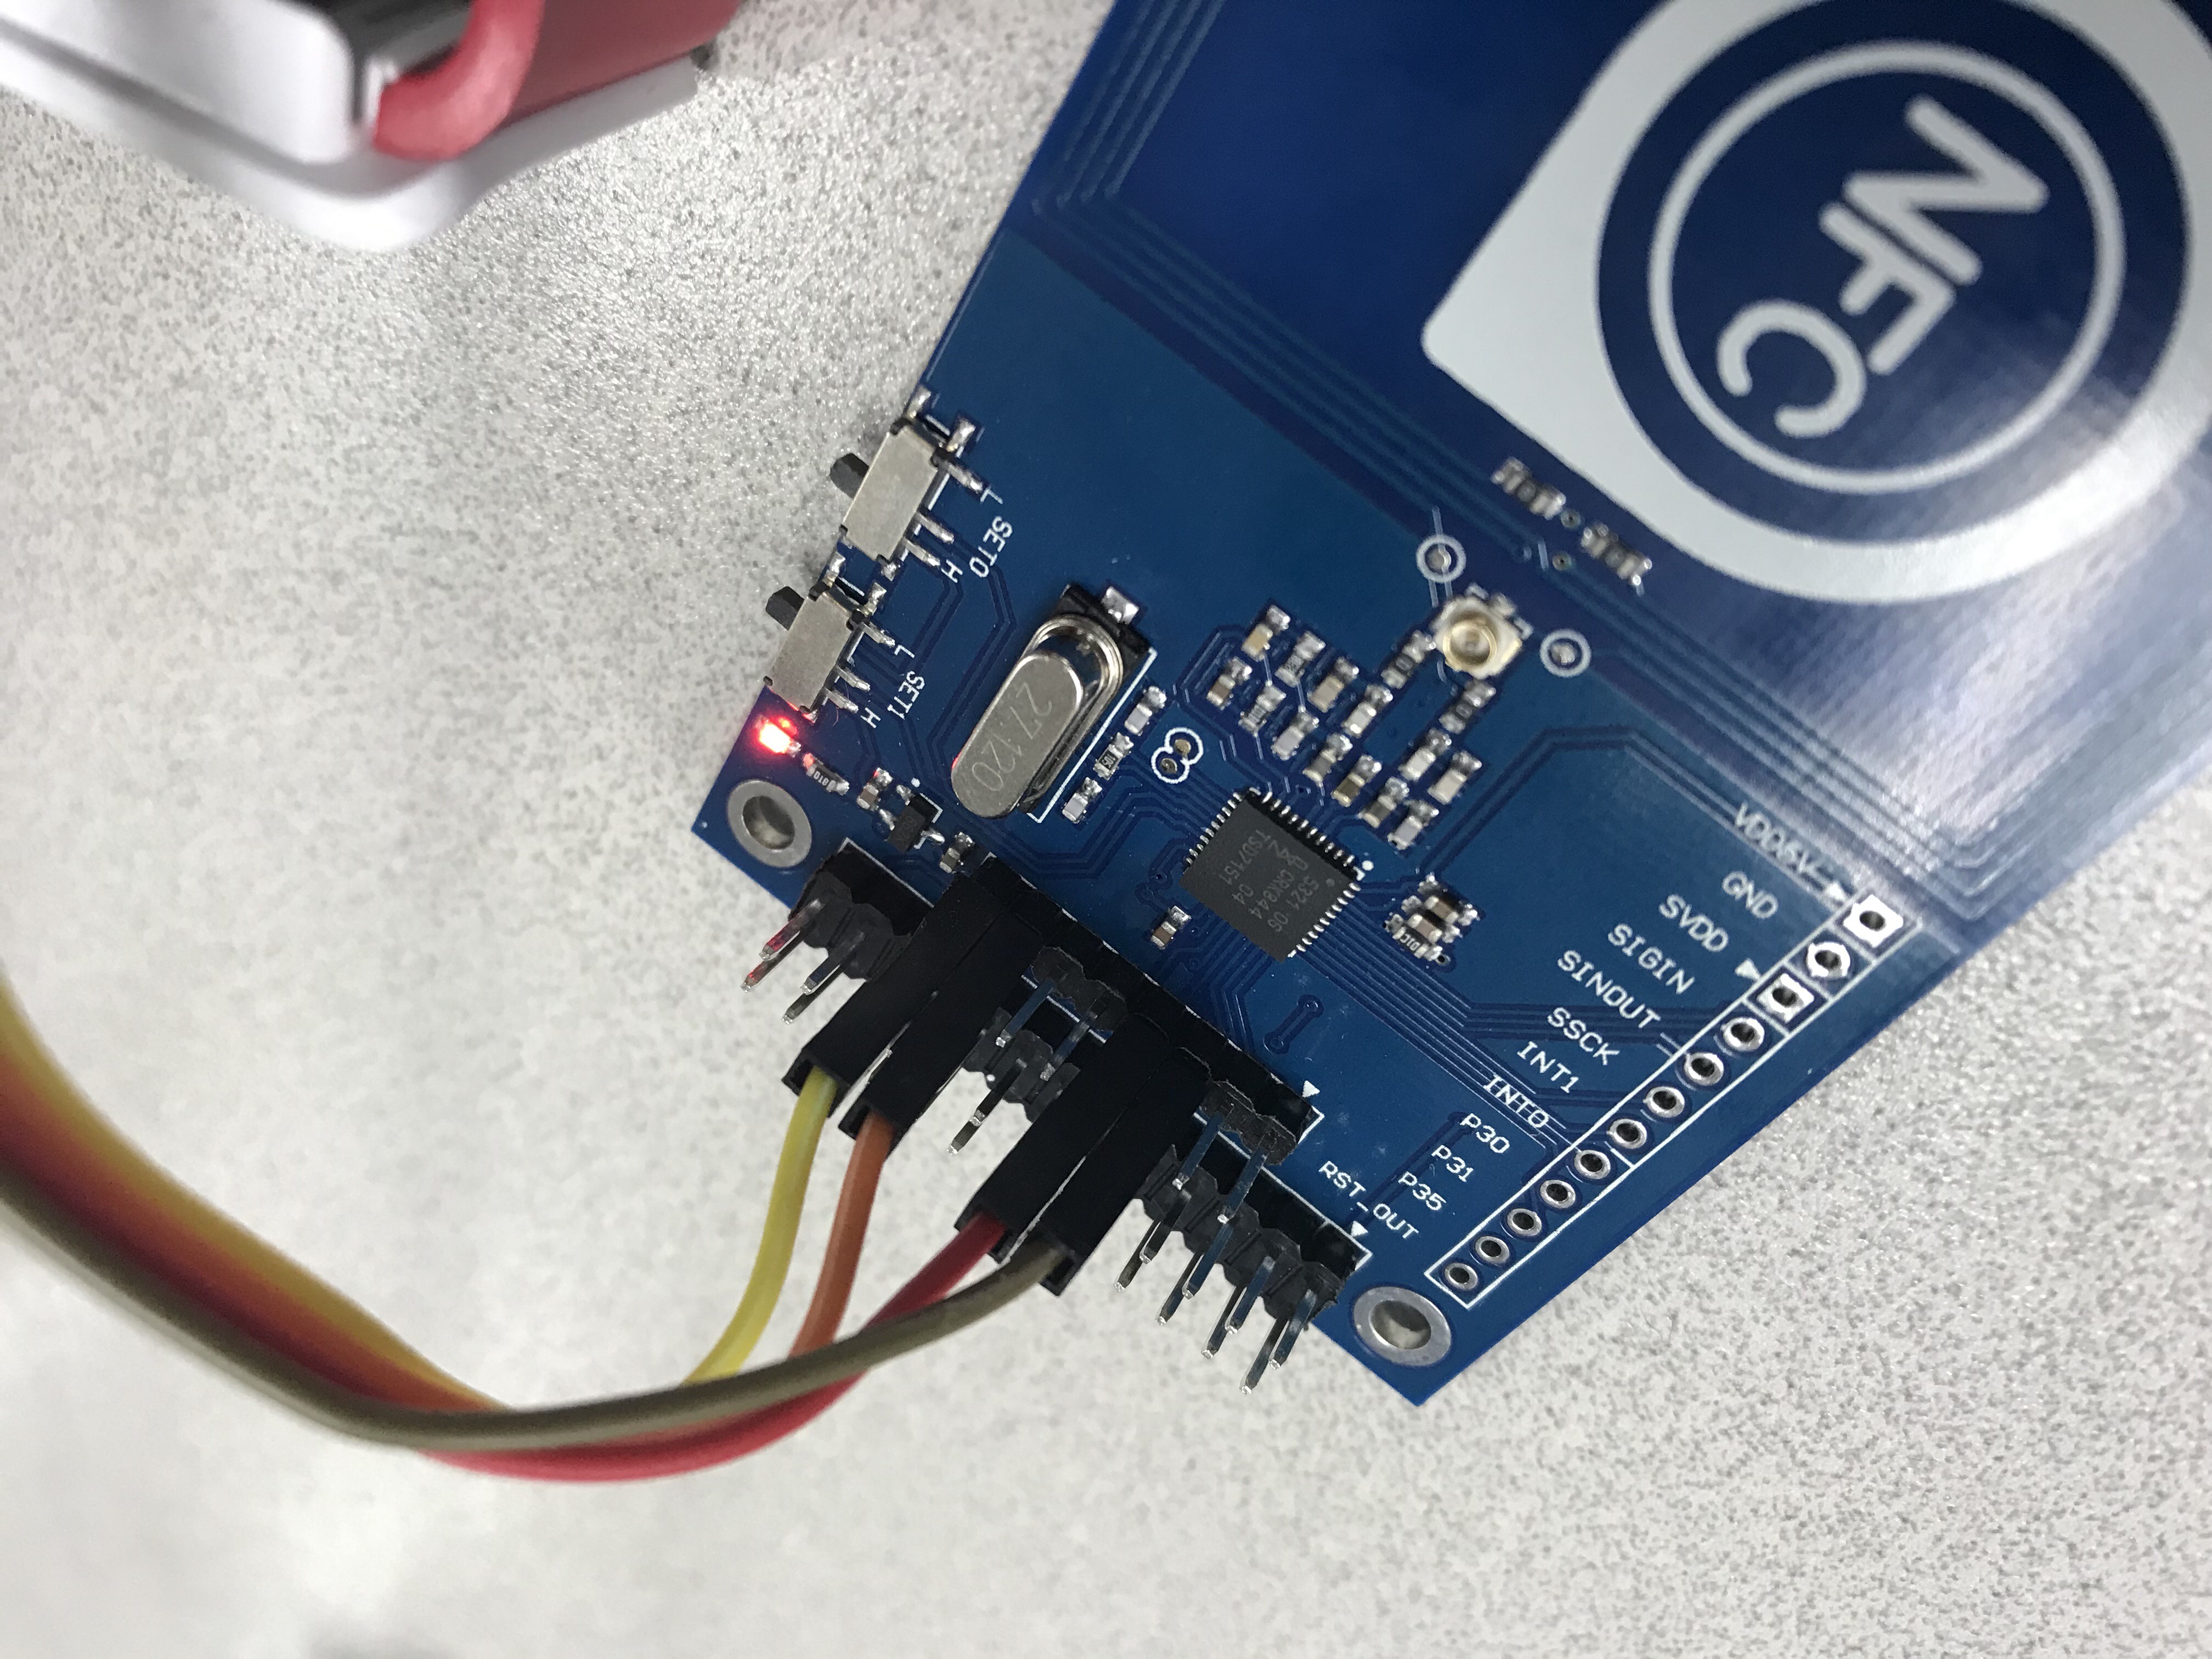
이제 라즈베리파이에 핀 연결을 한다.
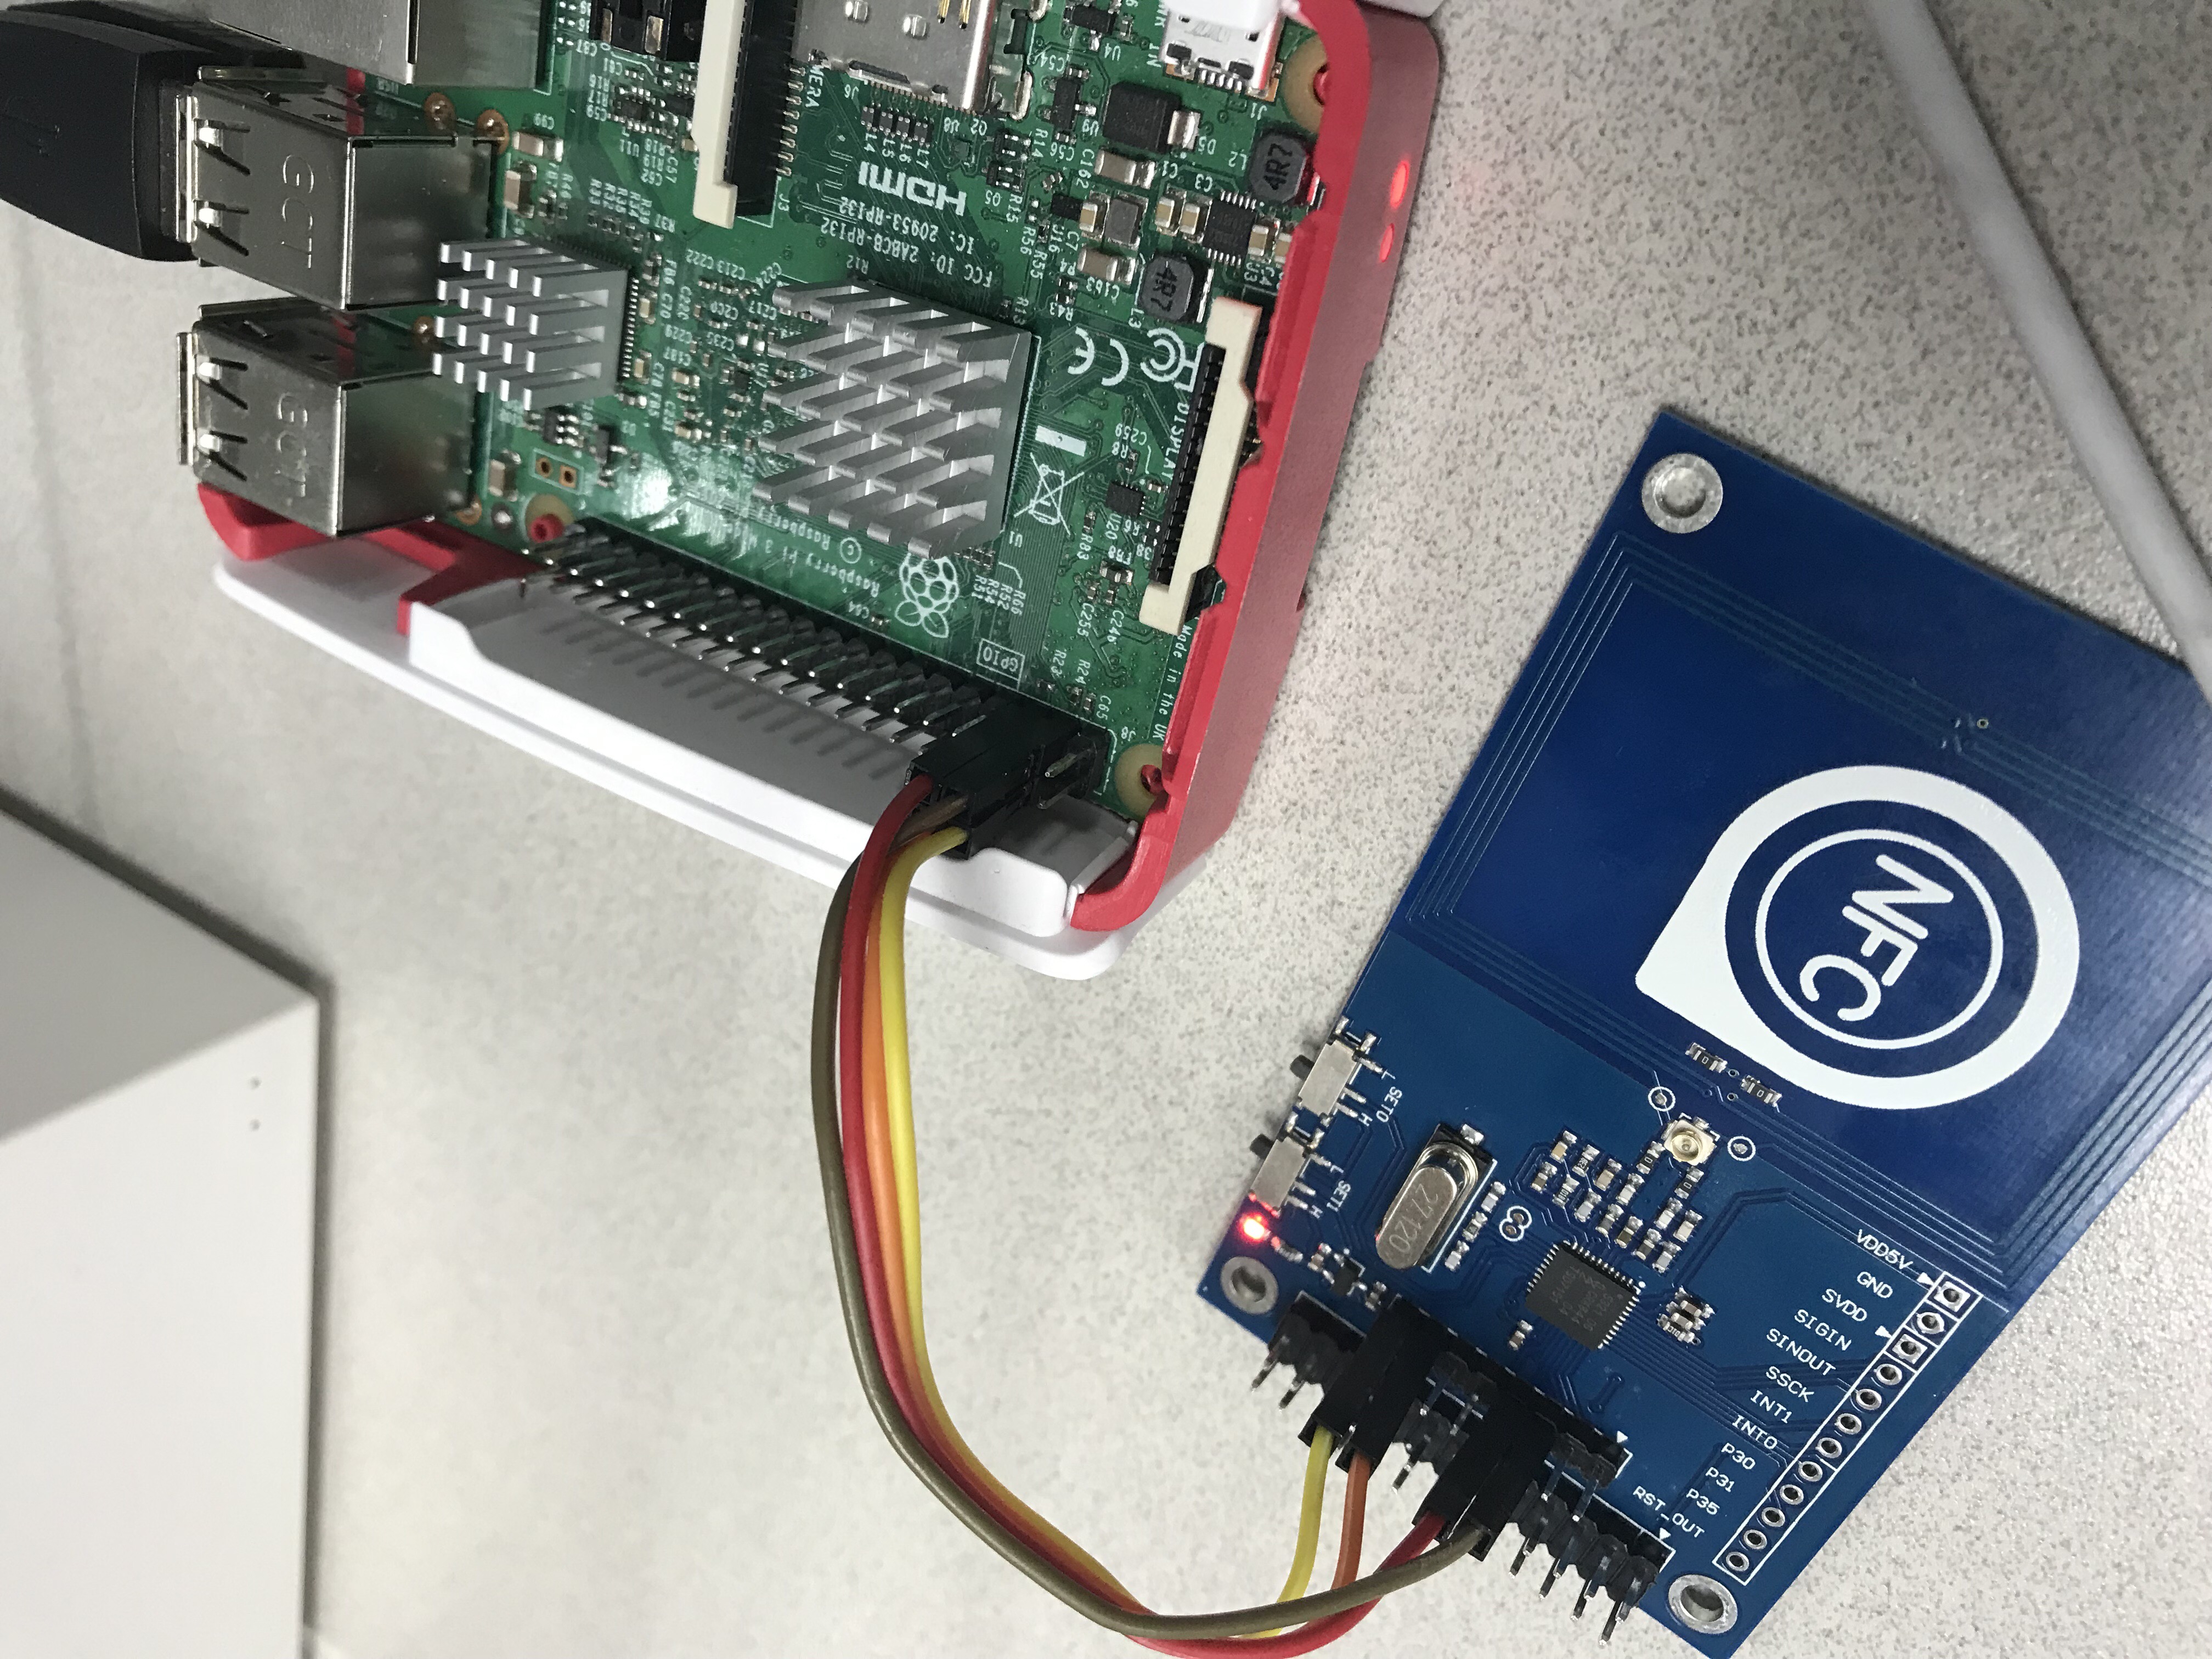
아래 사진처럼 I2C SDA 는 NFC 모듈의 SDA에 , I2C SCL은 NFC 모듈의 SCL에, GND와 5V PWR를 각각 연결한다.
이제 아래와 같이 관련된 패키지를 설치한다.
라즈베리파이의 I2C 사용을 허용한다.
|
sudo raspi-config |


관련 패키지를 설치한다.
|
sudo apt-get update sudo apt-get install libusb-dev libpcsclite-dev i2c-tools |
libnfc 소스코드를 다운받는다.
|
cd ~ wget http://dl.bintray.com/nfc-tools/sources/libnfc-1.7.1.tar.bz2 tar -xf libnfc-1.7.1.tar.bz2 |
컴파일 후 설치한다.
|
cd libnfc-1.7.1 ./configure --prefix=/usr --sysconfdir=/etc make sudo make install |
NFC 설정을 수정한다.
|
cd /etc sudo mkdir nfc sudo vi /etc/nfc/libnfc.conf |
/etc/nfc/libnfc.conf
|
# Allow device auto-detection (default: true) # Note: if this auto-detection is disabled, user has to set manually a device # configuration using file or environment variable allow_autoscan = true
# Allow intrusive auto-detection (default: false) # Warning: intrusive auto-detection can seriously disturb other devices # This option is not recommended, user should prefer to add manually his device. allow_intrusive_scan = false
# Set log level (default: error) # Valid log levels are (in order of verbosity): 0 (none), 1 (error), 2 (info), 3 (debug) # Note: if you compiled with --enable-debug option, the default log level is "debug" log_level = 1
# Manually set default device (no default) # To set a default device, you must set both name and connstring for your device # Note: if autoscan is enabled, default device will be the first device available in device list. #device.name = "_PN532_SPI" #device.connstring = "pn532_spi:/dev/spidev0.0:500000" device.name = "_PN532_I2c" device.connstring = "pn532_i2c:/dev/i2c-1" |
이제 연결이 제대로 됐는지 확인한다.
|
i2cdetect –y 1 |
아래와 같이 24가 보이면 인식이 된것이다.
혹은 nfc-list 명령어로 확인해볼 수 있다.

이제 nfc-poll이라는 명령어로 NFC Card를 읽을 수 있다.
|
nfc-poll |

출처/인용
www.theengineeringprojects.com
http://wiki.sunfounder.cc/index.php?title=PN532_NFC_RFID_Module#Test_for_Raspberry
'장인으로의 여정 > 라즈베리파이' 카테고리의 다른 글
| 라즈베리파이 전력 문제 확인방법 (0) | 2019.10.21 |
|---|---|
| 라즈베리파이 Buzzer(부저)편 (0) | 2019.10.07 |
| [라즈베리파이3] 농구게임 설치 (2) | 2016.06.15 |


댓글